Serving security.txt Using a Cloudflare Worker
Wednesday 31st July 2019
One of the most common implementation challenges of security.txt is Content Management Systems or managed hosting providers that don't allow you to set the file correctly. For example, they may disallow writing to the /.well-known directory, or it may not be possible to serve files as the text/plain MIME type.
If this is the case, and you also happen to be fronting your website using Cloudflare, you can use Cloudflare Serverless Workers to serve the file directly from Cloudflare, instead of passing the request through to your origin server/hosting provider.
Serverless, also known as functions-as-a-service (FaaS), allow you to run your code in the cloud, without having to rent individual virtual machines or use traditional shared hosting. Instead, your code runs in short lived and isolated sandboxes on a machine with potentially hundreds of other customers' sandboxed code. Deployment, scaling, resilience and system security is all managed by the serverless provider. You are generally billed per execution or for the amount of CPU time used, making serverless much more cost efficient than other cloud computing models in many cases.
Many cloud providers have their own serverless offering, including AWS Lambda, Google Cloud Functions, Azure Functions, etc. You can also host your own, as many of the serverless implementations are open-source. In this article I am focussing on Cloudflare's serverless offering, as it is very accessible to people who may be new to serverless, however you can achieve similar things using other providers.
If you're interested in a higher-level overview of serverless, I recommend this article by Serverless Stack: What is Serverless?
If you'd like to learn more about the technical details of Cloudflare's serverless platform specifically, including how the sandboxing works, Cloud Computing without Containers is a good read.
Skip to Section:
Serving security.txt Using a Cloudflare Worker
┣━━ Prerequisites
┣━━ Creating the Worker
┣━━ Deploying the Worker to a Route
┣━━ Testing the Worker
┗━━ Conclusion
Prerequisites
In this article, I will demonstrate how to set up a Cloudflare Serverless Worker to serve a security.txt file for your website that is already fronted by Cloudflare (in orange-cloud mode):
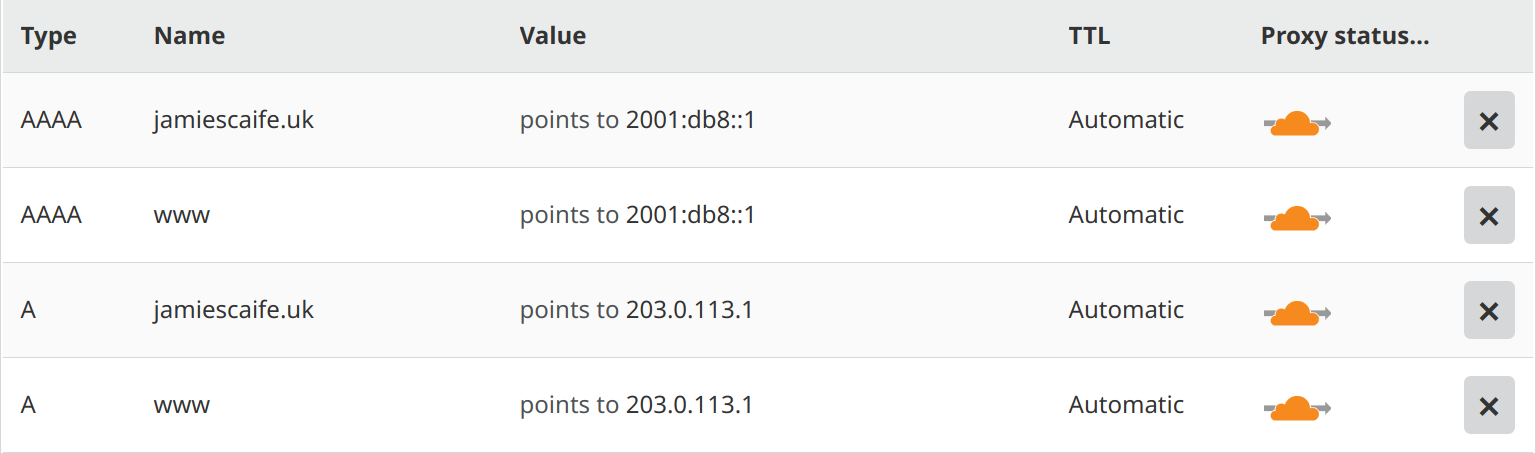
This configuration will work for any origin server/hosting provider, as long as it is a standard website operating over HTTP(S), for example Wordpress or Joomla. Once complete, all requests to /.well-known/security.txt will be routed by Cloudflare to your Worker, rather than through to your origin server as would usually happen.
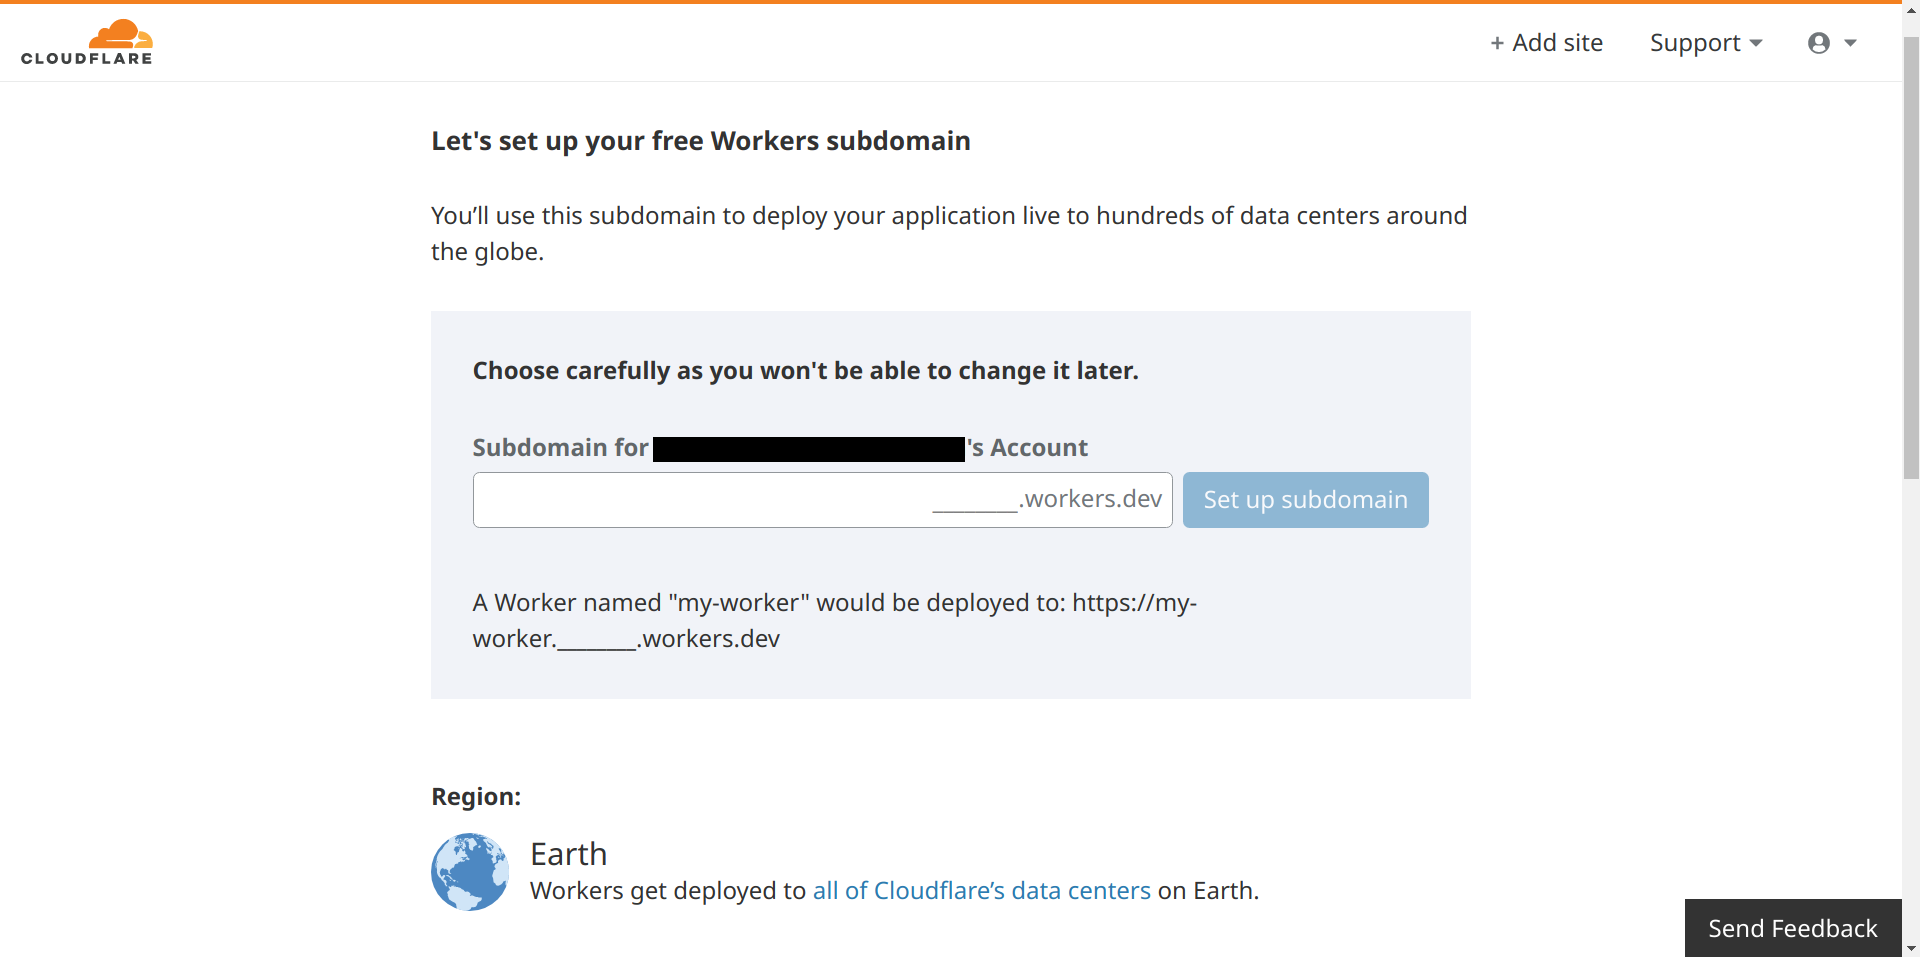
If you don't have a domain name added to Cloudflare and just want to test this configuration, you can claim a subdomain of workers.dev within your Cloudflare dashboard, where you can still use the full feature set of Workers:
Creating the Worker
In this example, I am using my non-production test domain jamiescaife.uk. You will need to use your own domain in place of this.
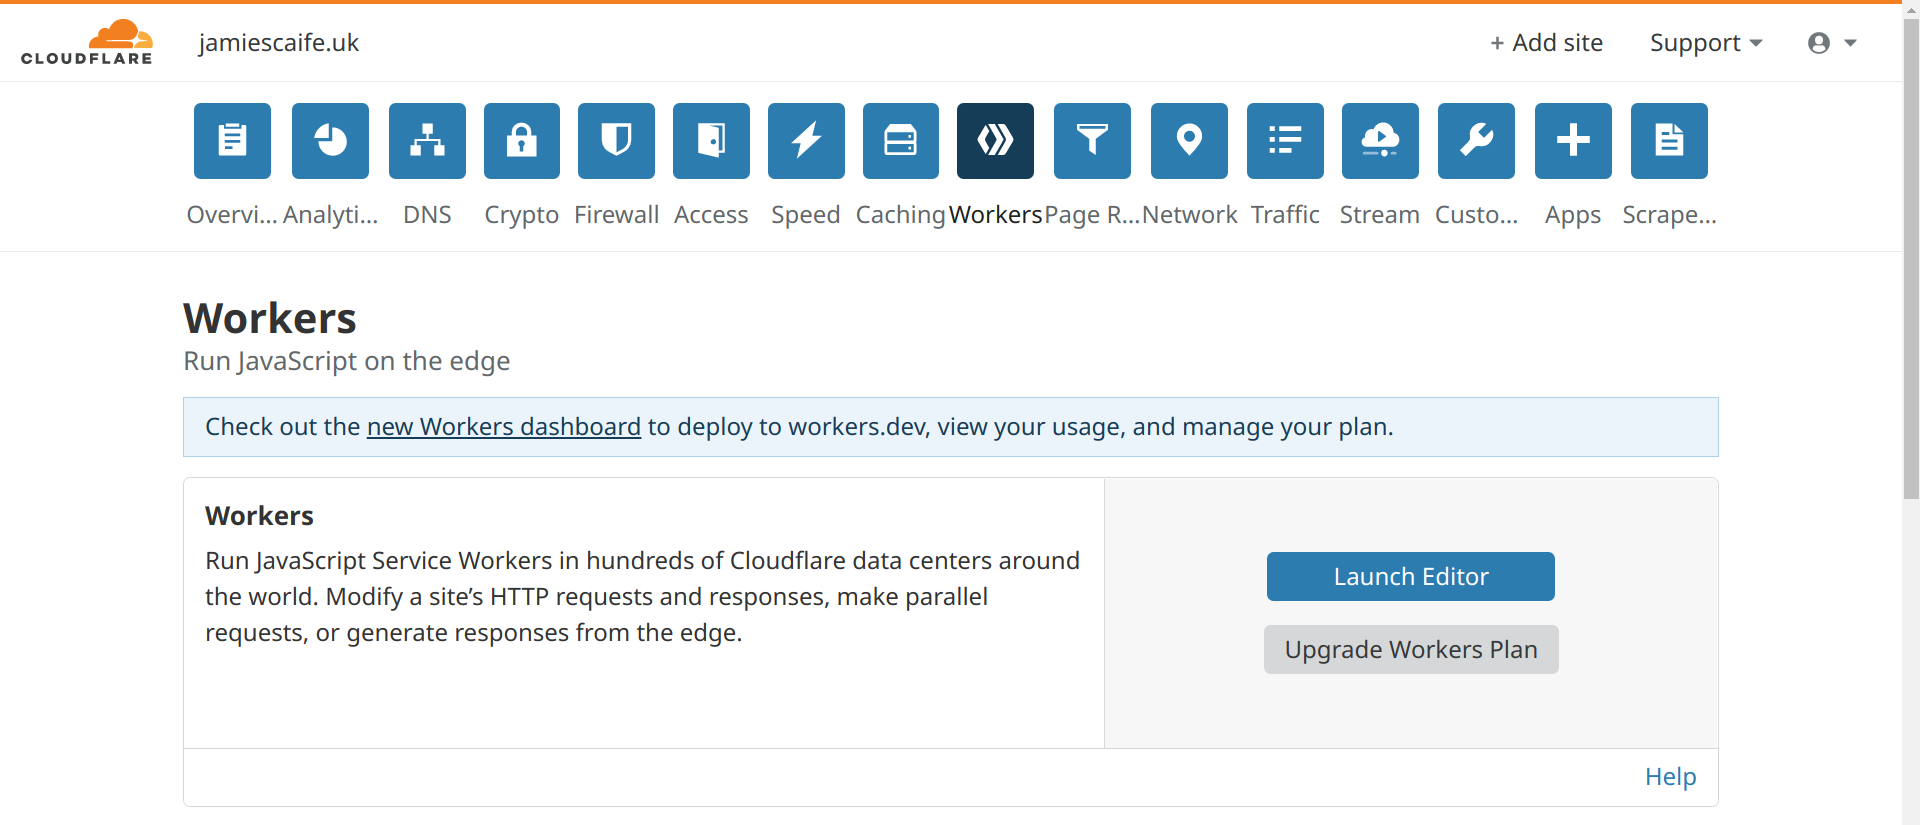
Firstly, navigate to the Cloudflare Workers app from within your dashboard:
From here, you can create a new Worker by clicking 'Launch Editor' followed by 'Add script'. Choose a friendly name for your script - in my case I chose securitytxt.
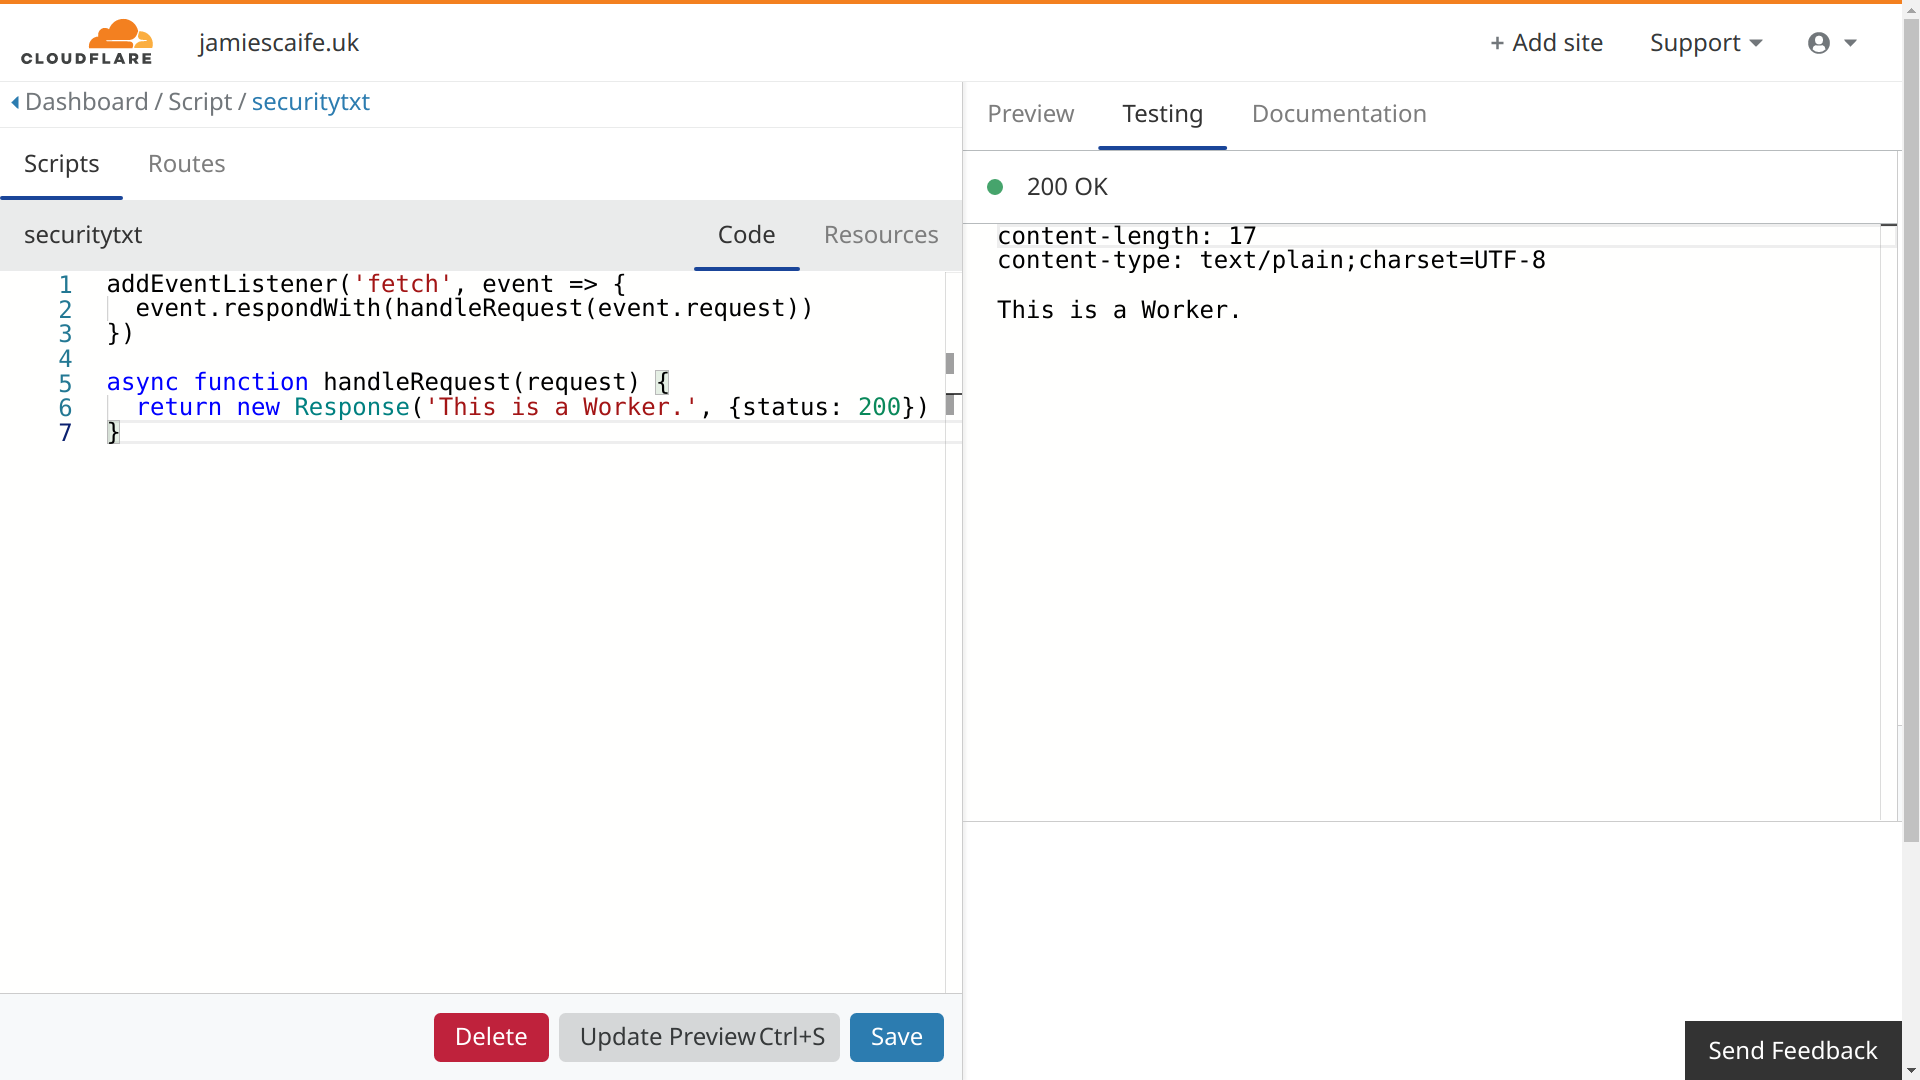
This will launch the Worker editor, with some placeholder/example code on the left, and a preview of the output on the right:
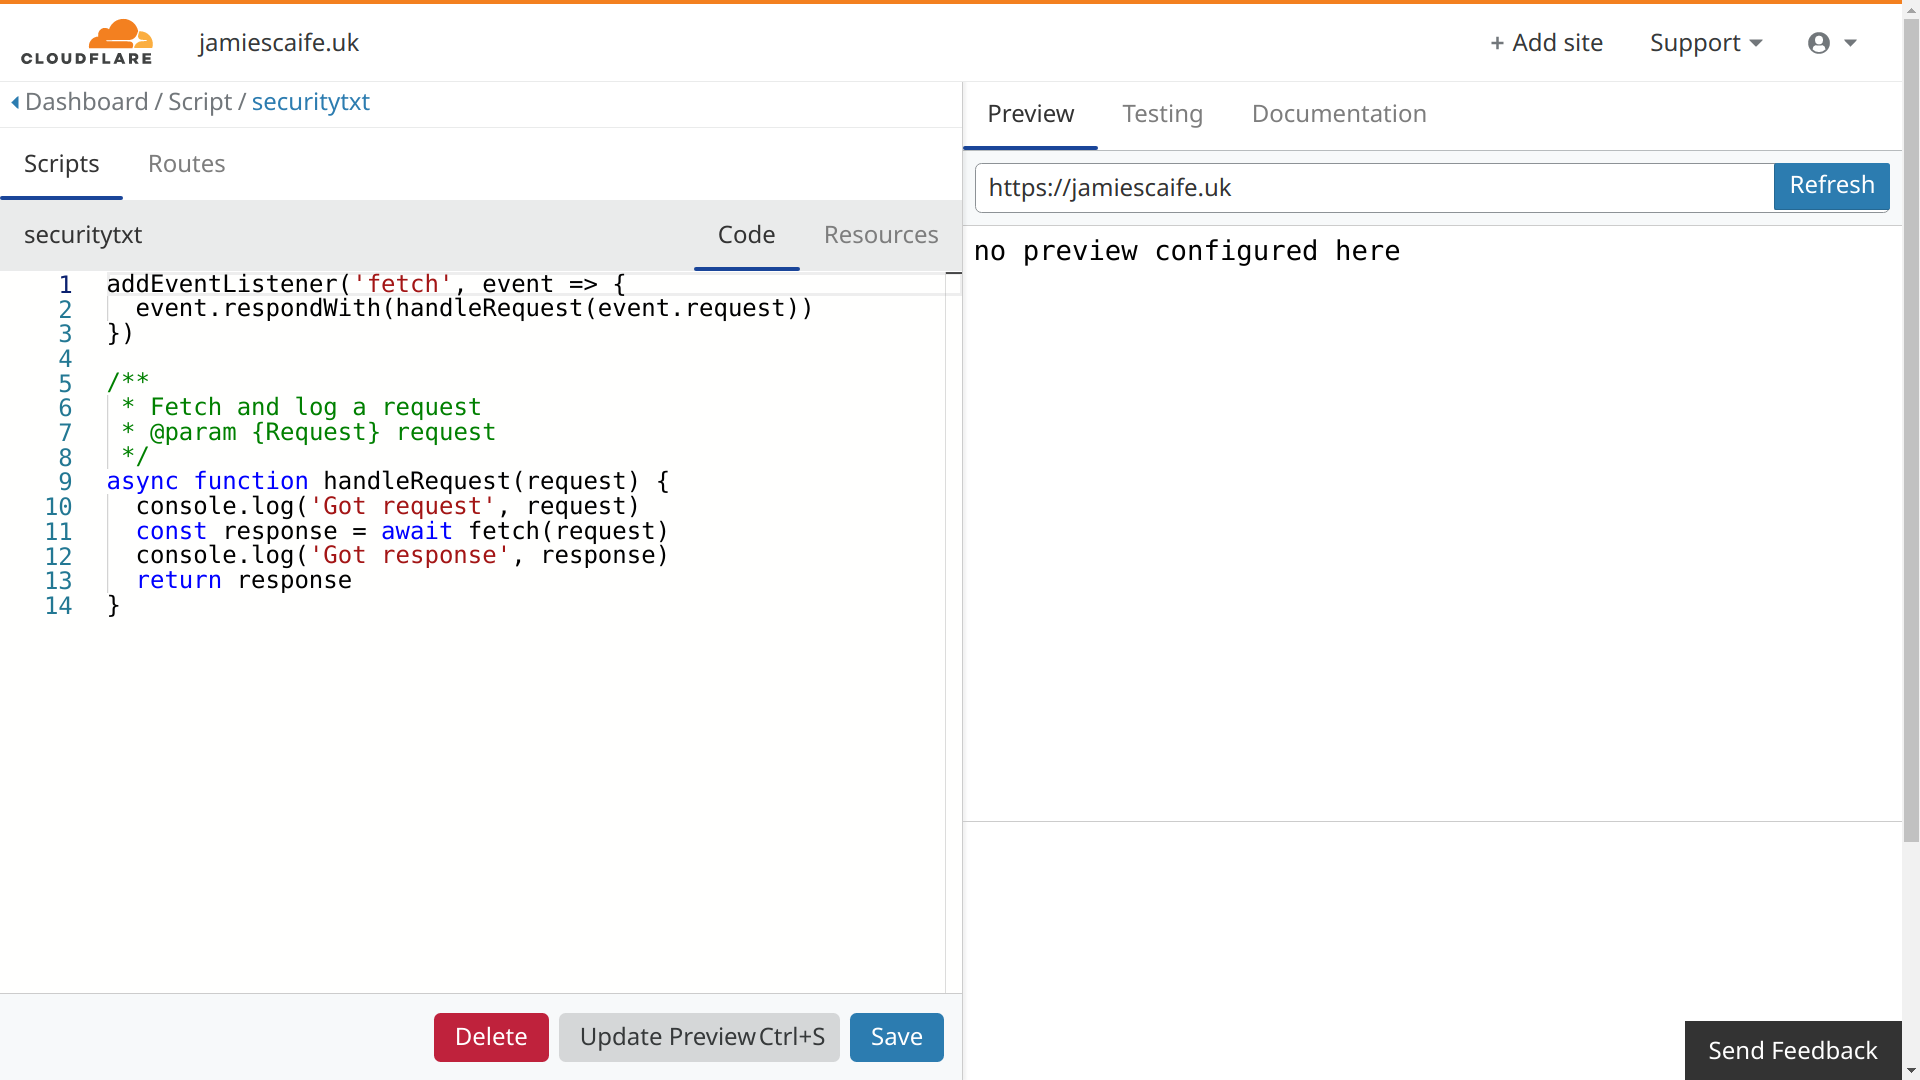
In some cases, the preview won't load the first time. You can normally resolve this by clicking the blue 'Refresh' button on the right.
The code below is for a simple 'Hello, World!' Worker, which will serve any text of your choice:
addEventListener('fetch', event => {
  event.respondWith(handleRequest(event.request))
})

async function handleRequest(request) {
  return new Response('This is a Worker.', {status: 200})
}
When running this as a Worker, it produces a response containing the Content-Length and Content-Type headers, as well as the text that you set:
Next, we can move on to the Worker script to serve your security.txt file.
It's a very simple script that just serves the security.txt content as plain text, but it also sets the Strict-Transport-Security and Expect-CT headers to help ensure that the file is served over a secure HTTPS connection.
Here's the code:
addEventListener('fetch', event => {
  event.respondWith(handleRequest(event.request))
})

let securitytxt = `Contact: mailto:security@example.com
Encryption: https://example.com/pgp.asc
Signature: https://example.com/.well-known/security.txt.sig
Acknowledgement: https://example.com/security/hall-of-fame
Hiring: https://example.com/careers
Canonical: https://example.com/.well-known/security.txt`;

async function handleRequest(request) {
  return new Response(
    securitytxt,
    {
      status: 200,
      headers: {
        'strict-transport-security': "max-age=30",
        'expect-ct': "max-age=30, enforce"
      }
    }
  )
}
The securitytxt variable contains a standard example security.txt file. Make sure to update the values to match your own security reporting email addresses, links, etc. You can refer to the specification on the security.txt website for more information.
You should also configure the max-age and other directives for the Strict-Transport-Security and Expect-CT headers. If you already have these headers set on the rest of your website, I recommend configuring the Worker to use exactly the same values. Please refer to the documentation on MDN for more information: Strict-Transport-Security | Expect-CT
Finally, update the preview using the 'Update Preview' button at the bottom. Your security.txt file should now show in the preview/testing window on the right:

If there are any syntax errors in your code, these will be marked in the editor window.
Deploying the Worker to a Route
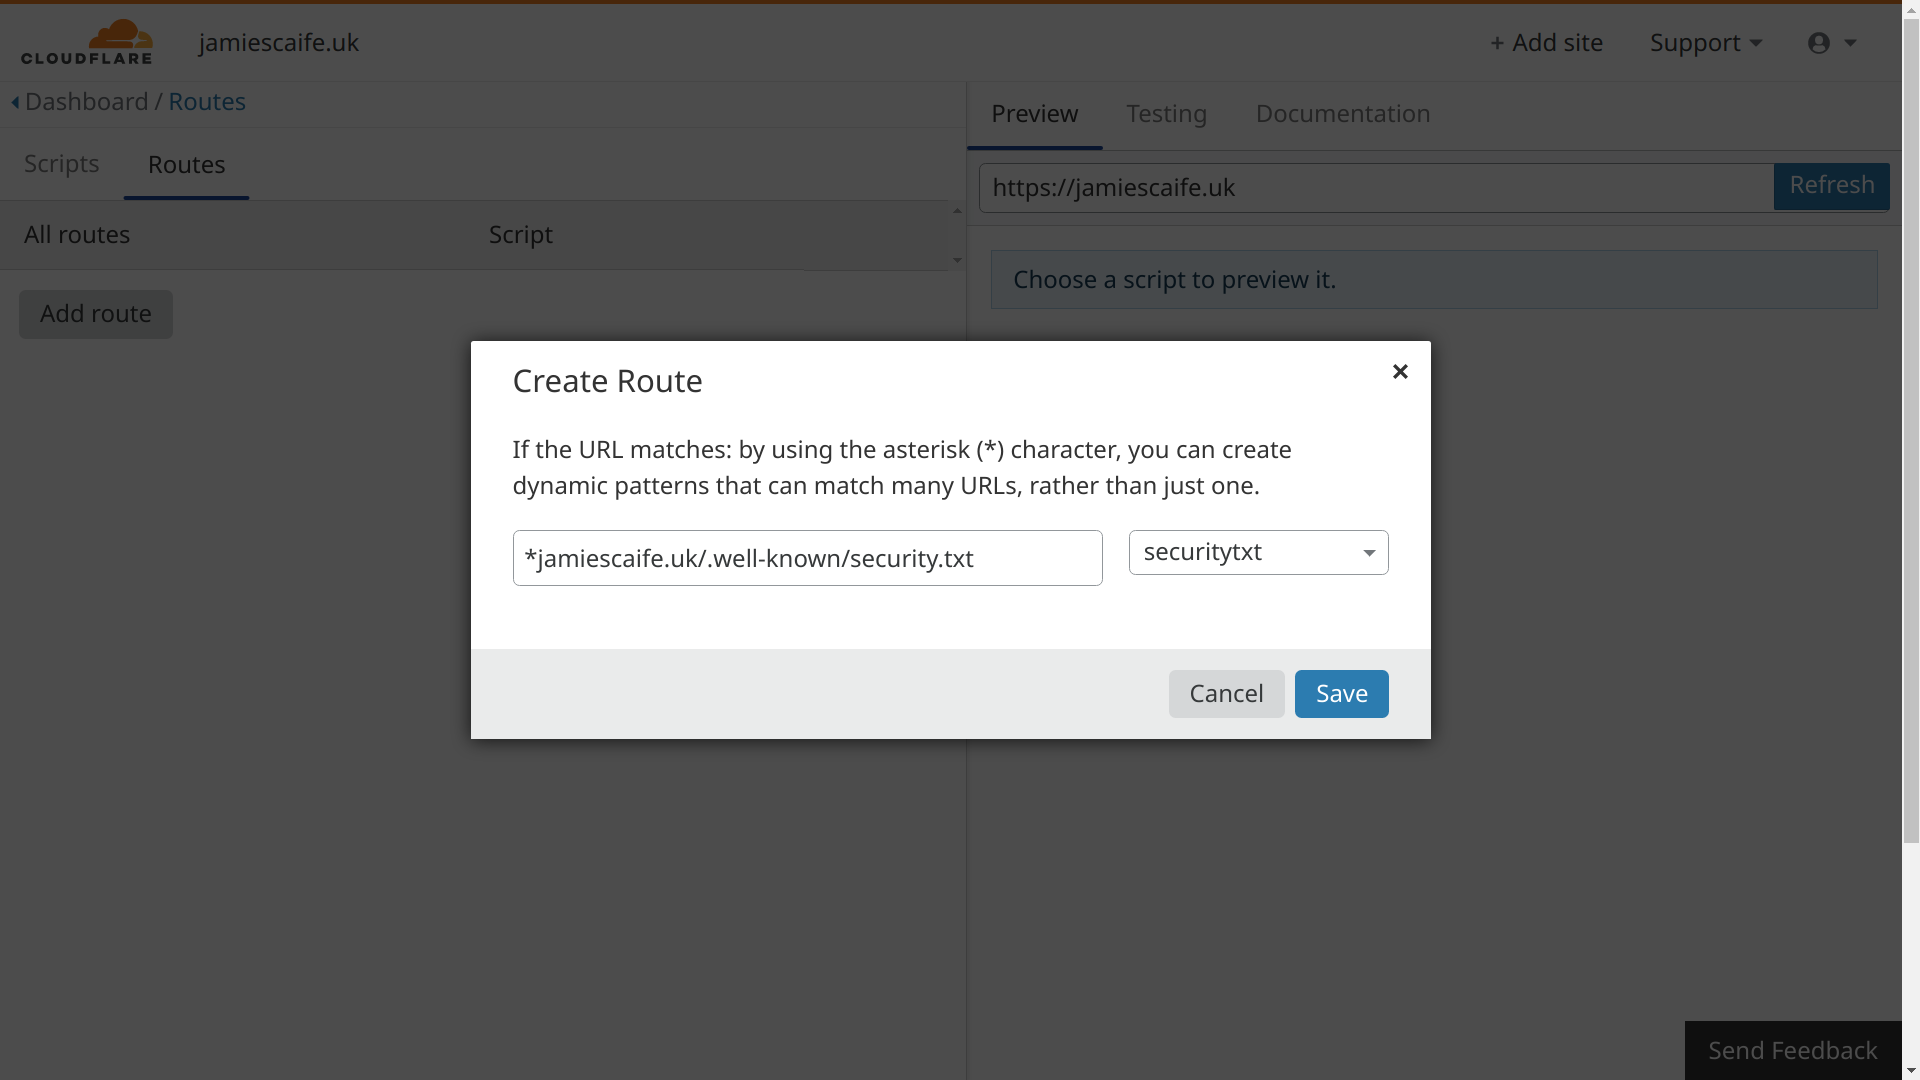
In order for the Worker to actually run, you'll need to create a route. A route is essentially a URL path that when hit, will cause the request to be routed to your Worker, rather than through to your origin server as would usually happen.
The standard URL path for security.txt is /.well-known/security.txt. You can create a route for this by saving and exiting the script editor, then switching to the 'Routes' tab, followed by clicking 'Add route'. Then, specify the URL path, including your domain at the start. Add an asterisk (*) to specify a wildcard, for example to allow the Worker to run for both the root domain and the www subdomain:
Testing the Worker
Now that your Worker has been deployed to the /.well-known/security.txt, you can test it by visiting the URL in a browser, or using cURL:
$ curl https://www.jamiescaife.uk/.well-known/security.txt
Contact: mailto:security@example.com
Encryption: https://example.com/pgp.asc
Signature: https://example.com/.well-known/security.txt.sig
Acknowledgement: https://example.com/security/hall-of-fame
Hiring: https://example.com/careers
Canonical: https://example.com/.well-known/security.txt
If you don't get a response as expected, check the response headers (using curl -i) for any possible indicators, and also double check that you have set the Worker route correctly.
Conclusion
Hopefully this usage of Workers will make it easier for security.txt to be served when using certain Content Management Systems or hosting providers.
This same configuration can of course be used to serve other text files, such as your security.txt.sig signature file, robots.txt, mta-sts.txt, etc.
If you want to go a bit further, consider serving your CSS stylesheet using serverless, or even some of the key static pages on your website.
I have no commercial affiliation with Cloudflare.